You pour a glass of water and expect clarity, yet sometimes doubt fills your mind. The water may look clear, but hidden risks exist within every drop. People worry about germs and bacteria that ordinary filters cannot block. The small solution is simple yet powerful. A UV system can clear out those hidden threats and offer daily relief.
In this guide, we explain how UV system installation works in detail. Our promise is simple: clear steps, clear water, and confidence in every sip.
Why Clean Water Demands More Than Filters
Clean water is central to daily health, yet often overlooked until problems appear. City treatment plants work hard but cannot control the entire path water travels. Pipes may carry rust, slime, or harmful bacteria into your home supply. Even in private wells, contamination can enter after heavy rain or soil disruption.
Relying only on basic filters may leave blind spots in your defense. The growing demand for strong solutions highlights the need for technology beyond chemicals.
The Science Behind UV Light Purification
UV light is a natural force that disables harmful organisms without adding a strange taste or smell. The light targets the DNA of bacteria, viruses, and parasites, halting their ability to multiply or survive. This makes water safer without any chemical footprint left behind.
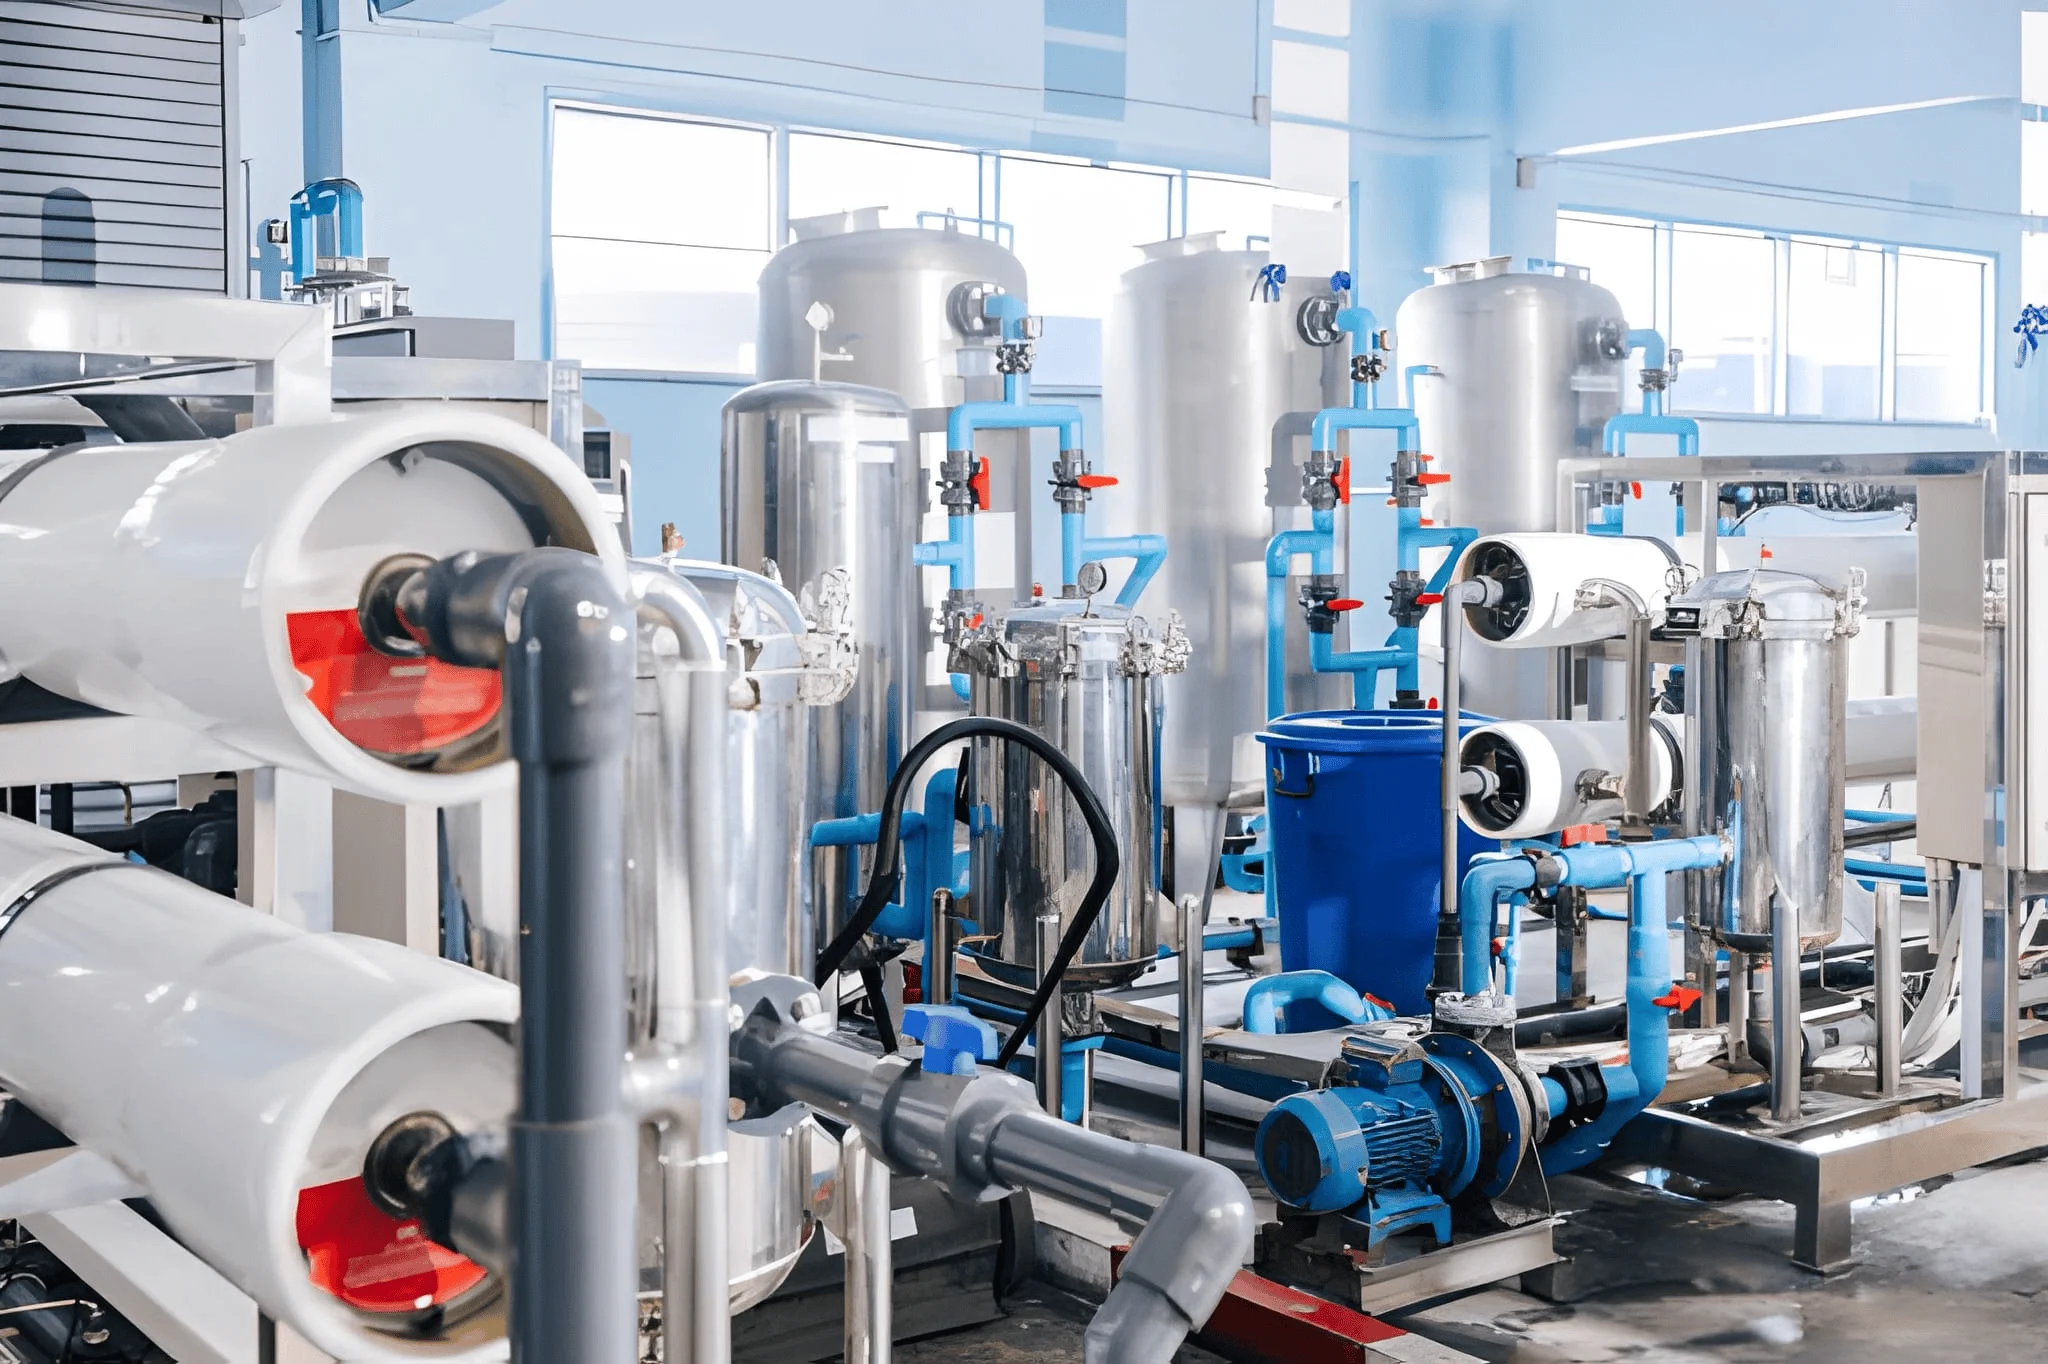
The process is fast, efficient, and widely trusted across industries. Families, small cafés, hospitals, and even schools now adopt this reliable technology. Unlike older methods, it does not alter water chemistry or affect its flow.
Detailed Step-by-Step UV System Installation
Step One: Site Inspection
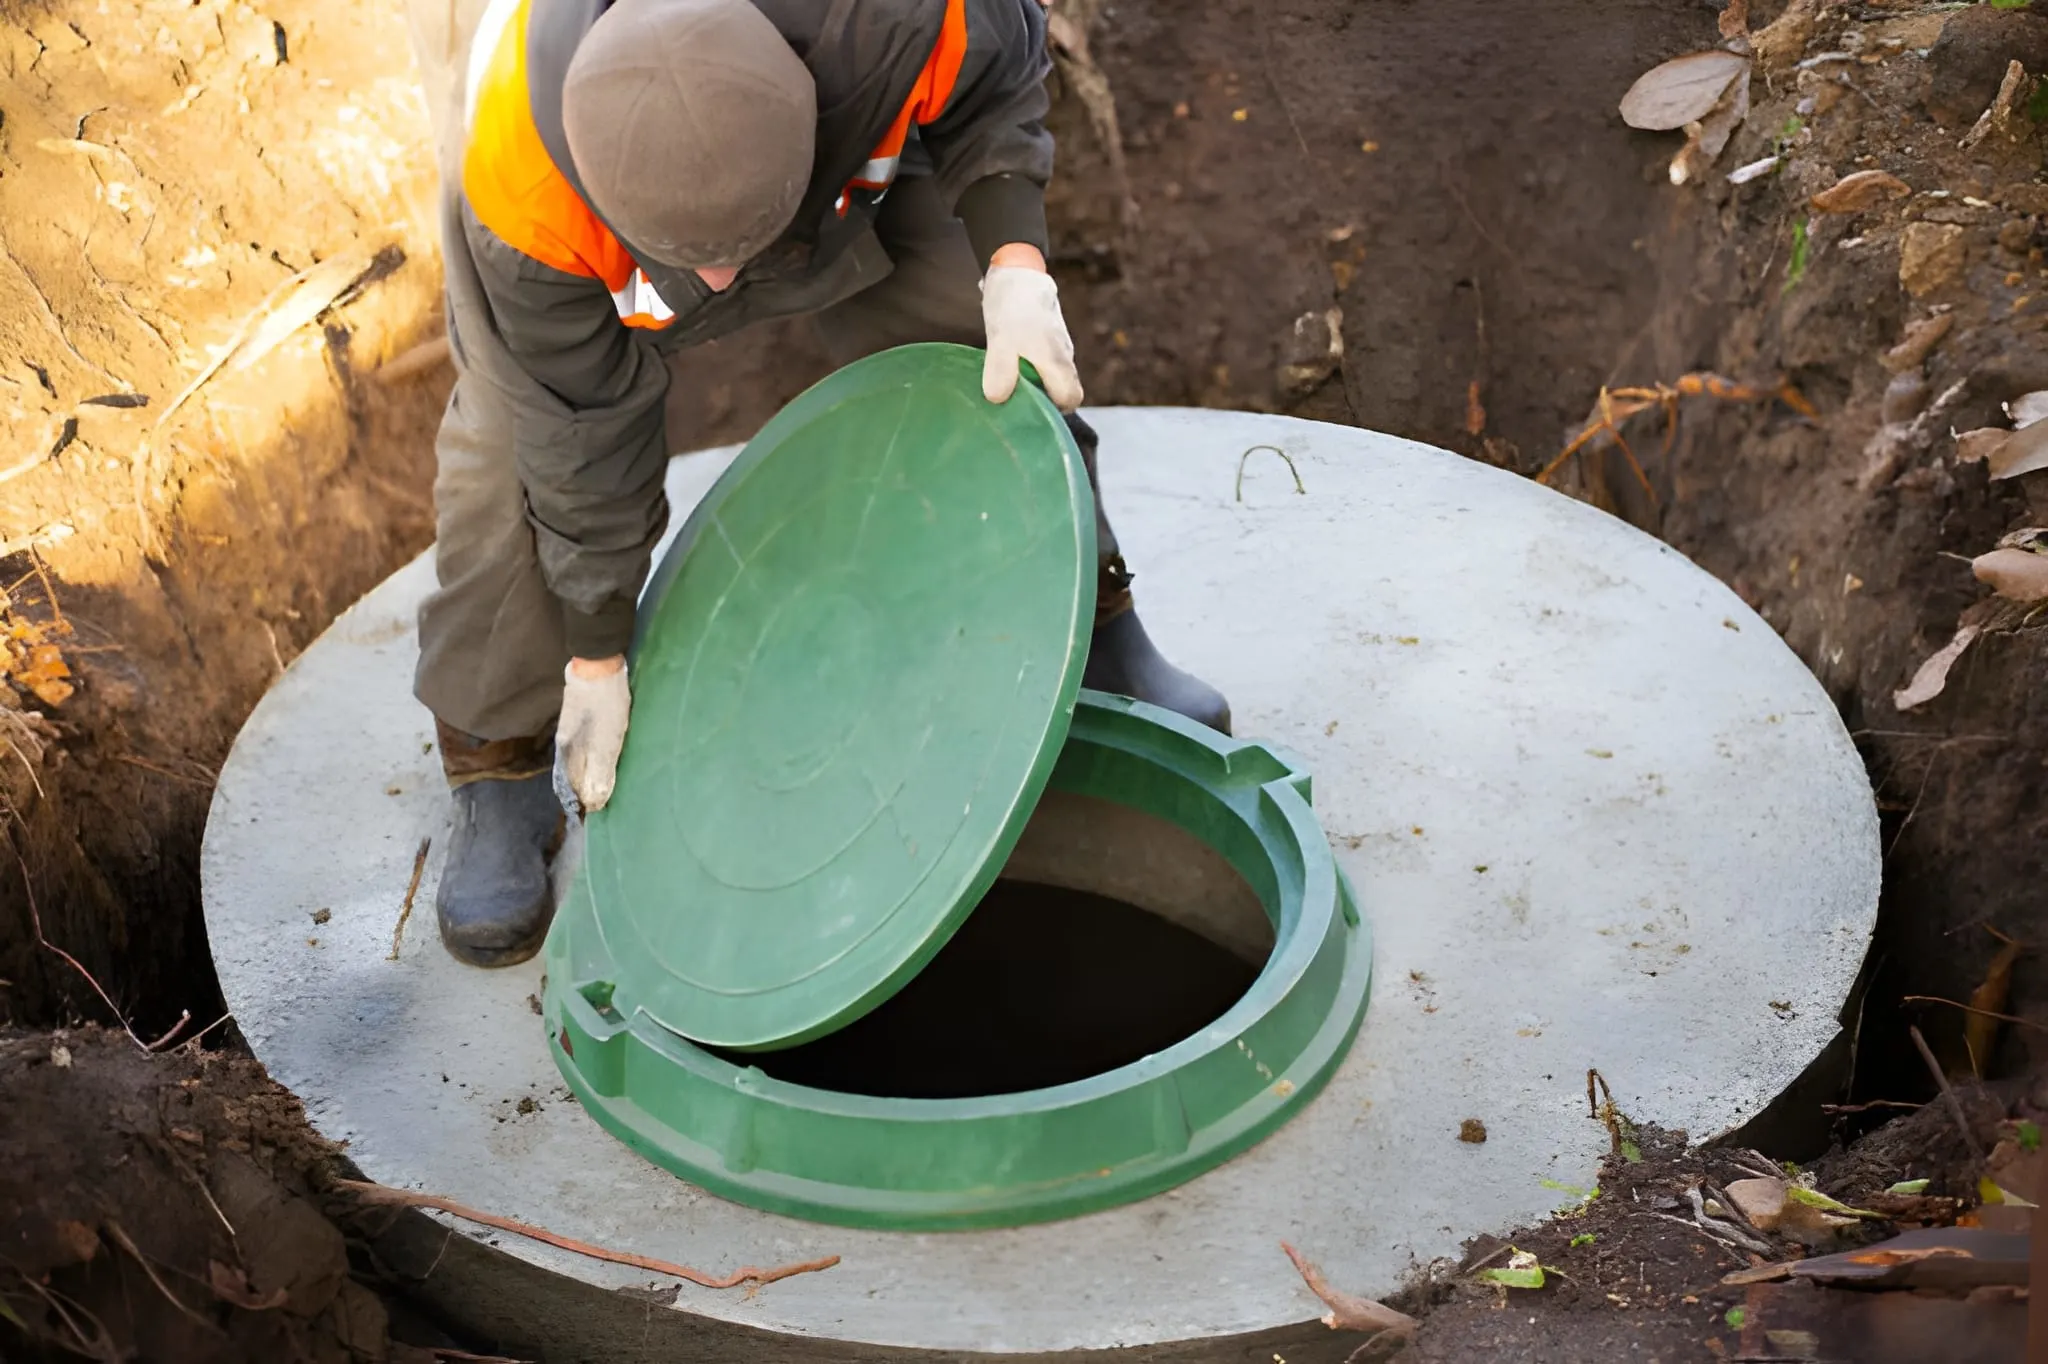
Every installation starts with careful checks of the water source and layout. Technicians assess pipe routes, available space, and the best location for access. They also confirm that water pressure and flow rate meet system requirements. Without these checks, the setup could face issues later on. This step prevents future leaks and ensures every part works smoothly.
Step Two: Pre-Filtration Preparation
Water often arrives with sediments, rust flakes, and small dirt particles. These block UV light and reduce its strength. Pre-filters trap those particles before water enters the UV chamber. Depending on the region, carbon filters or sediment filters are added. By removing obstructions, the UV lamp works at peak efficiency. This step extends lamp life and improves water clarity at the faucet.
Step Three: Chamber Placement and Alignment
The stainless chamber must sit at the main water entry line. Its position ensures every drop of water passes through the UV exposure zone. Seals are carefully tightened to avoid pressure loss or leakage. Brackets hold the chamber in place to prevent vibration or movement. Alignment is crucial so the lamp rests inside without bending or strain.
Step Four: UV Lamp Installation
The lamp itself is delicate yet central to the system. Professionals slide the lamp inside the protective quartz sleeve. Fingerprints are avoided since even small marks reduce performance. The sleeve is locked into place to keep water away from the lamp. After secure placement, technicians connect it to the ballast or control unit. Once powered, the lamp begins emitting invisible germ-killing rays.
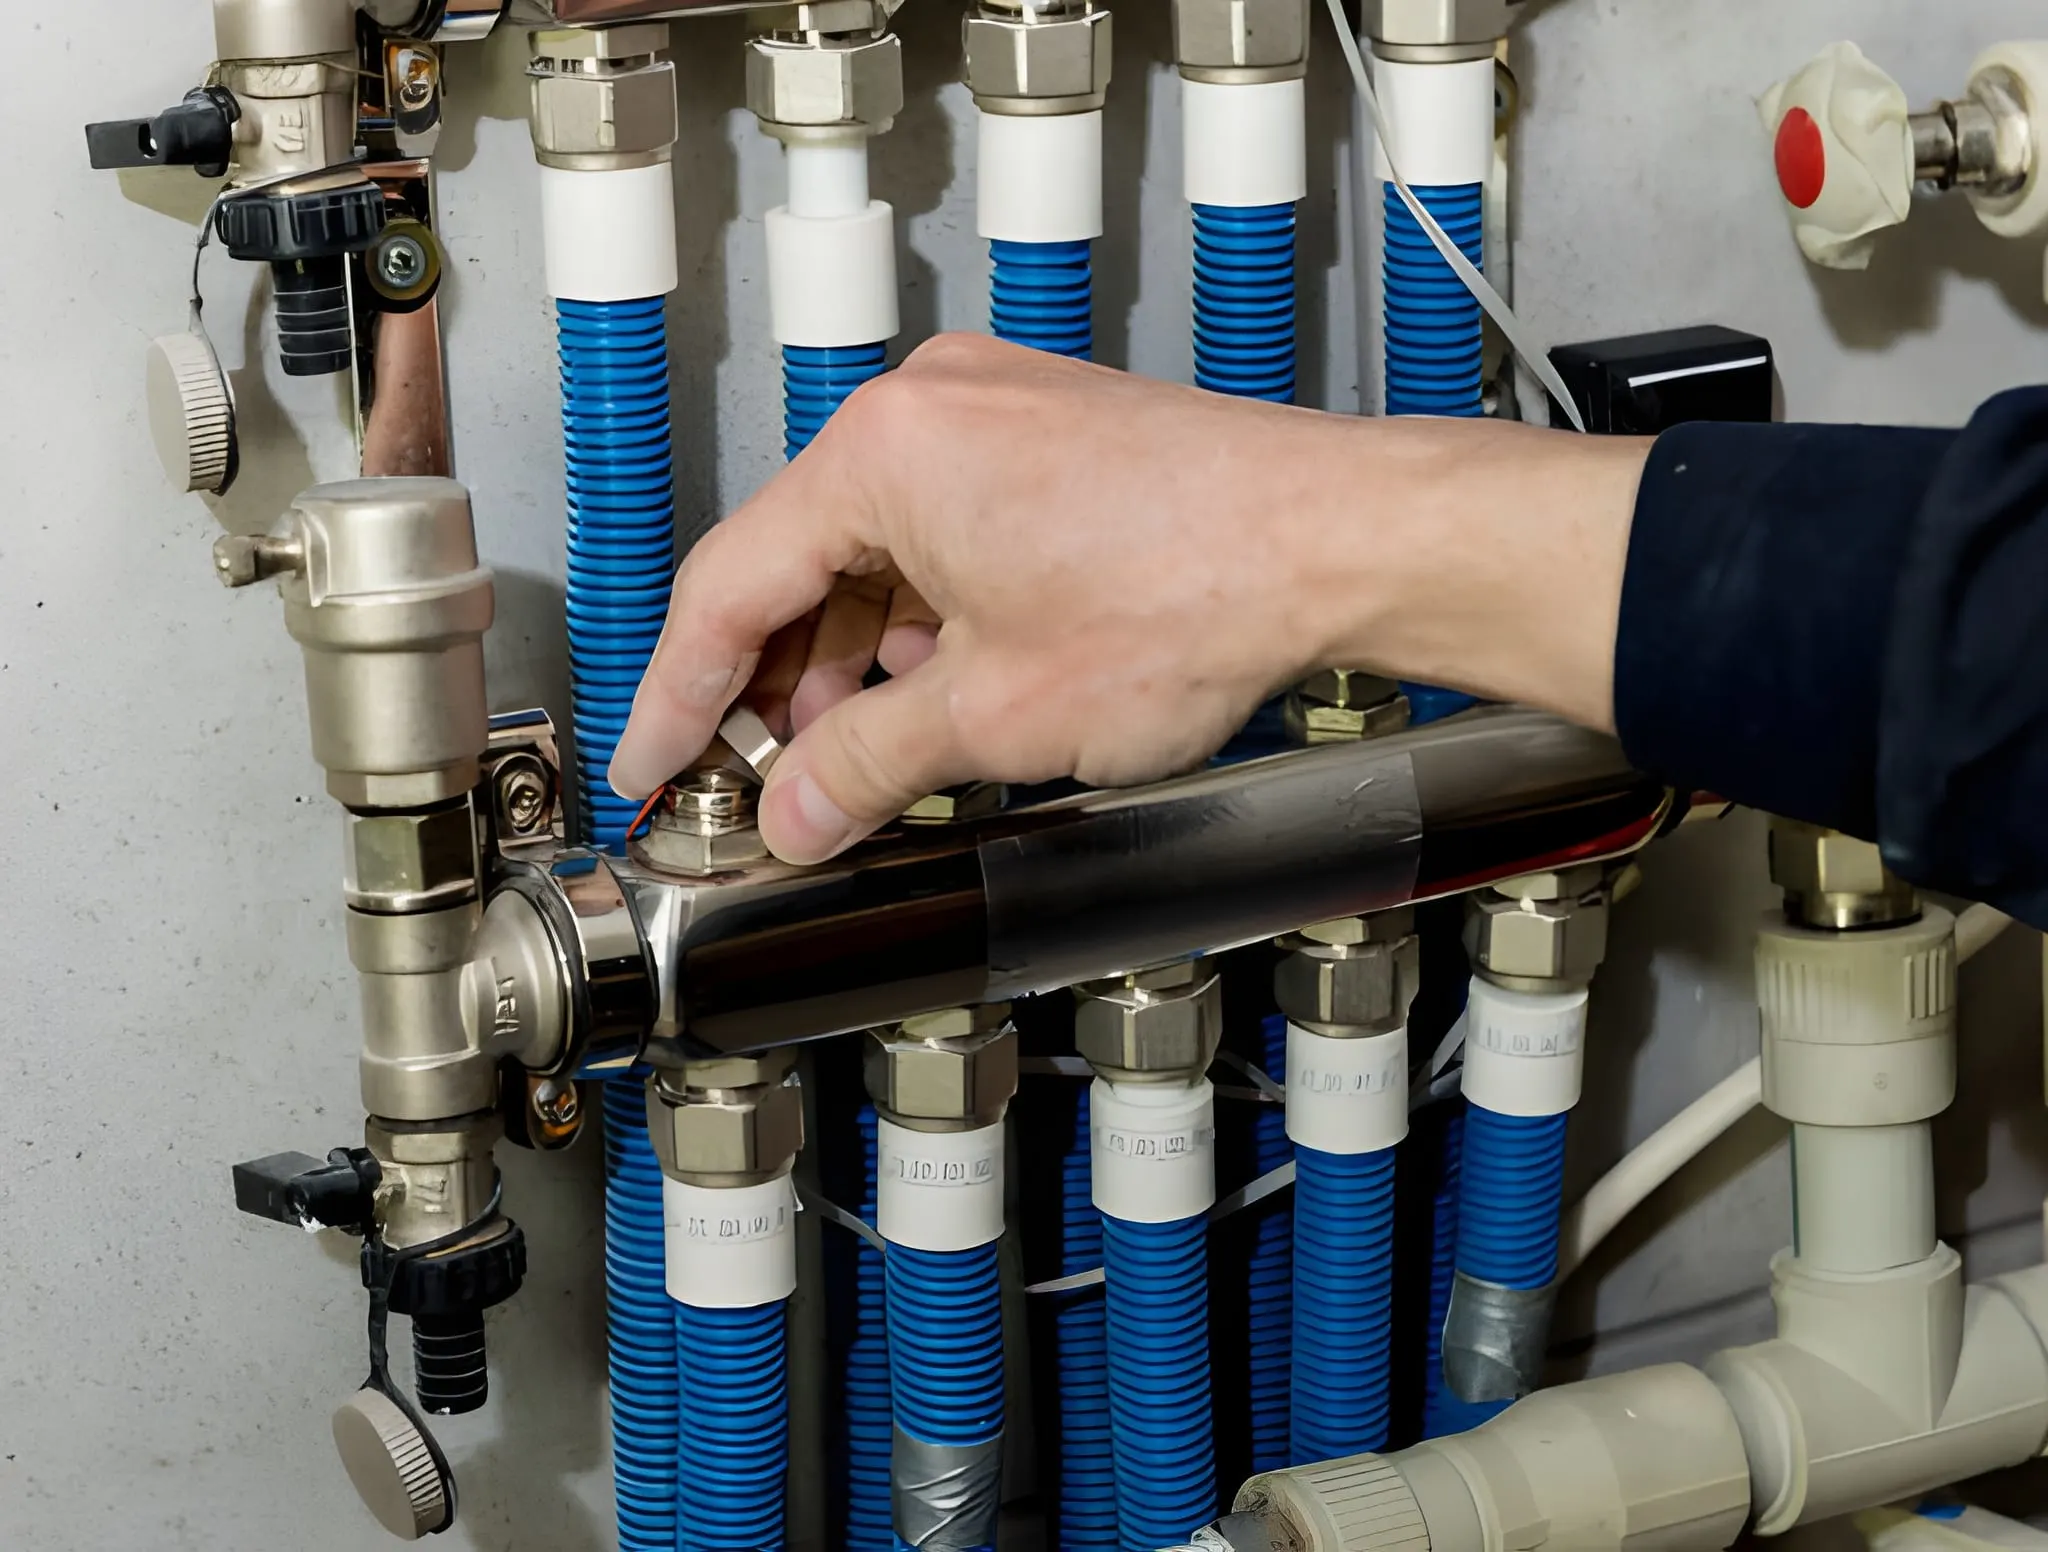
Step Five: Power and Control Panel Connection
A constant power source is needed for the UV lamp. The control panel connects the lamp with a steady voltage and monitors the output. Many modern units provide status lights, digital screens, or sound alarms. These alerts help homeowners know when the lamp weakens or fails.
The system may also include timers for automatic checks. This stage ensures the UV chamber works with precision and reliability.
Step Six: Testing Water Flow and Light Output
With everything installed, technicians test water pressure and lamp intensity. Special meters check the UV dosage to confirm proper germ removal. Water samples may be taken to confirm bacterial absence. Technicians also check seals, joints, and valves for leaks. Only after full tests does the system pass approval for daily operation.
Adding Extra Layers of Care
A UV system works best when paired with other protective measures. Sediment filters remove visible dirt, while carbon filters improve taste. For homes with hard water, softeners reduce scaling inside the chamber. Businesses often add pressure gauges and flow meters for easier monitoring.
These combined solutions make the UV system more effective and long-lasting.
Benefits Beyond Clean Water
UV technology provides comfort on many levels.
- Health Confidence: Each sip feels safe without hidden germs.
- Low Cost Operation: Lamps use little energy, often equal to a small light bulb.
- Eco Awareness: No chemical waste enters drains or rivers.
- Ease of Use: Yearly lamp changes are simple compared to heavy chemical management.
- Scalability: Systems can serve both small homes and massive industrial complexes.
The peace of mind from pure water is priceless. No bottled water bill, no lingering doubt, only trust in your tap.
Real-Life Scenarios Where UV Systems Shine
Consider a farmhouse drawing water from a deep well that passes through soil layers. Bacteria often enter during storms and make the family uneasy. A UV unit ensures every glass they drink is free from worry. Picture a restaurant owner who needs to meet strict health codes.
The UV chamber allows them to serve customers without failing inspections. Large factories also install UV systems to protect workers from waterborne risks. Each case proves how flexible and helpful this technology becomes.
Common Myths About UV Treatment
Some people believe UV treatment changes the taste of water, which is false. The process only disables germs and does not touch minerals or flavors. Another myth is that the lamps consume high energy. In truth, they need less power than a small kitchen bulb.
Others worry about maintenance being complex. In reality, only an annual lamp change is required for peak results. These myths often stop people from trying, but real facts show ease and safety.
Mistakes to Avoid During Installation
Many people skip pre-filtration, which weakens the system within months. Others install the chamber in the wrong pipeline, missing some flow. Touching the lamp with bare hands lowers its ability to emit light. Ignoring yearly lamp changes leads to reduced germ control.
Skipping professional checks can also shorten the life of the system. These mistakes cost more than proper care would ever demand.
Maintenance Tips for Long-Term Value
- Inspect filters monthly and replace when flow slows.
- Check the control panel lights to confirm lamp operation.
- Wipe dust from the chamber exterior for steady performance.
- Replace lamps each year without delay.
- Keep records of service dates for easy tracking.
Routine attention helps keep water pure and trust unshaken.
Final Thoughts
Water purity is vital for health, peace, and daily living comfort. The process of UV system installation may look complex, yet it becomes easy with expert guidance. Each step builds trust in the water you use for cooking, drinking, and cleaning. The benefits go beyond health into savings, eco care, and peace of mind.
Myths may confuse some, but real users confirm its simple nature and strong results. With consistent care, this system protects not only you but generations ahead. Clear water, safe family, and steady comfort remain the promise delivered by UV light.